
To photograph 1st Birthday Cookies beautifully, start with a curated selection of diverse, visually appealing treats. Create a themed backdrop for a captivating setting. Style props with color, texture, and personal touches. Set up a relaxed environment for genuine infant photos. Master lighting and composition for stunning shots. Build a miniature scene for extra engagement. Edit images to enhance their charm and share them online.
Celebrating your little one’s first birthday? Photographing 1st birthday cookies can create adorable keepsakes. This guide walks you through every step, from selecting the perfect cookies and setting a themed backdrop to capturing natural smiles and mastering lighting. Learn tips for styling props, incorporating other birthday elements, and editing your photos to create a beautiful collection that captures this special milestone.
- Choosing the Right Cookies for Your 1st Birthday Photoshoot
- Setting Up a Themed Background for Cute and Captivating Shots
- Tips for Styling and Decorating Birthday Cookie Props
- Capturing Expressive and Natural Smiles with Infants
- Using Light and Composition to Enhance Cookie Photography
- Incorporating Other Birthday Elements for a Complete Look
- Editing and Sharing Your 1st Birthday Cookie Photos
Choosing the Right Cookies for Your 1st Birthday Photoshoot
When photographing 1st birthday cookies, selection is key to creating visually appealing images. Opt for a variety of charming and bite-sized treats that align with the theme or colors of the celebration. Miniature sandwiched cookies, decorated cupcakes, or colorfully iced macarons can add texture and interest to your composition. Look for unique shapes like animal biscuits or custom-made figures that resonate with the child’s interests, making the photos even more memorable.
Consider the texture and presentation as well; crisp edges, delicate sprinkles, or smooth frosting create appealing contrasts. Arrange these 1st birthday cookies creatively on props like miniature tables, a wooden slice of cake, or inside a toy-filled basket to tell a story within each shot. This thoughtful approach will result in beautiful images that capture the joy and excitement surrounding this special milestone.
Setting Up a Themed Background for Cute and Captivating Shots

Creating a visually appealing backdrop is an excellent way to elevate your 1st Birthday Cookie photoshoot. Start by choosing a theme that complements the birthday celebration’s aesthetics; for instance, a pastel-hued backdrop with subtle floral patterns or a simple solid color like soft pink or mint green can work wonders. You can use fabric, paper, or cardboard to construct this setting. For an extra creative touch, consider incorporating elements relevant to the child’s interests, such as toys or favorite cartoon characters.
Positioning this themed backdrop against a clean, bright wall ensures your cookies become the star of the frame. Use it as a prop or a focal point, allowing for dynamic compositions. Experiment with different angles and viewpoints to capture both close-ups showcasing the intricate cookie details and broader shots that include the entire creation. This approach will result in cute and captivating images that perfectly capture the joy and wonder of celebrating a 1st birthday with delicious treats.
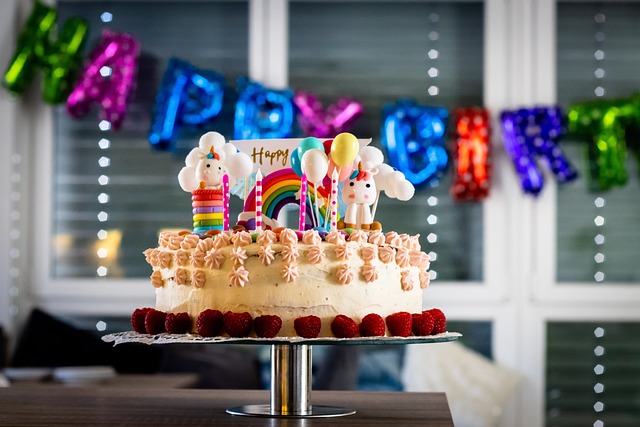
Tips for Styling and Decorating Birthday Cookie Props
When styling and decorating 1st Birthday Cookie props, the key is to create a visually appealing setting that complements the celebratory theme. Start by choosing a color palette—pastel hues or vibrant shades can set the tone. Layer delicate textures like lace doilies or ribbon to add depth and whimsy. Arrange cookies in an artful display, perhaps on a wooden board with rustic charm or a glass platter for a modern touch.
Consider incorporating personalized elements such as the birthday child’s name or age using edible markers or fondant accents. Fresh flowers or small toys can serve as charming additions. The goal is to craft a scene that invites photographs, making each cookie a memorable memento of the special day.
Capturing Expressive and Natural Smiles with Infants

When photographing 1st Birthday cookies, capturing genuine moments is key. With infants, the goal is to elicit natural smiles and avoid forced poses. Start by creating a relaxed atmosphere using soft lighting and soothing backgrounds. Engage them with playful interactions like gentle tickles or showing them a favorite toy, which can prompt a spontaneous smile. Be patient and capture a range of expressions—from serious looks to happy giggles—as these candid shots often turn out the most adorable.
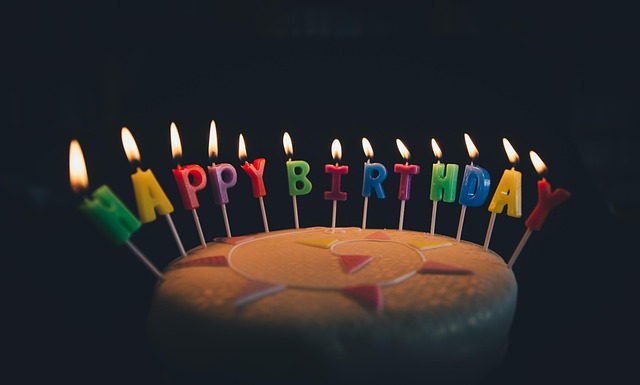
Using Light and Composition to Enhance Cookie Photography

When photographing 1st Birthday Cookies, mastering light and composition is key to creating stunning images that do these sweet treats justice. Soft, diffused natural light is ideal for showcasing the delicate details and vibrant colors of the cookies. Aim for a well-lit background to ensure your subject stands out while avoiding harsh shadows that can make textures less appealing. Experiment with different angles to find the most flattering composition. A bird’s eye view can capture the entire scene, while a lower angle emphasizes the texture and height of the cookies.
Framing is another powerful tool. Use props like a wooden board or lace doily to add depth and context, drawing the viewer’s eye into the image. Play with negative space for a clean, modern aesthetic, or include other birthday elements like balloons or a cute plate to tell a story. Remember, the goal is to create visually appealing images that capture the joy and celebration associated with these special 1st Birthday Cookies.
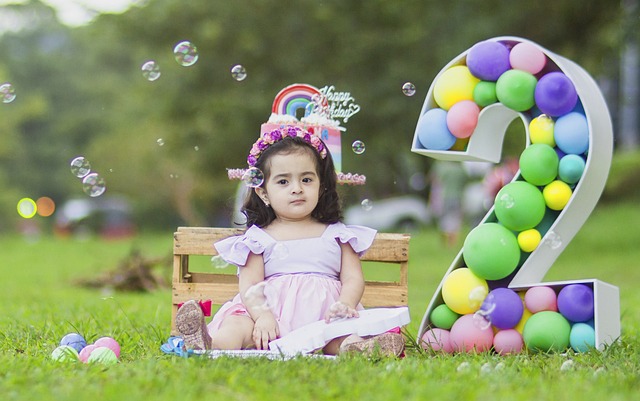
Incorporating Other Birthday Elements for a Complete Look
When photographing 1st Birthday Cookies, don’t stop at just the cookies themselves. Incorporating other birthday elements can create a more complete and visually appealing image. Think about setting up a miniature scene with the cookies as the centerpiece. You could include a small birthday hat, balloons, or even a tiny piñata to capture the joy and celebration of the occasion. These additional props not only enhance the aesthetic but also tell a story, making your photos more engaging.
For a cohesive look, consider using colors and themes that match the birthday theme. For instance, if it’s a pink and gold theme, incorporate these colors in the props and background to maintain visual harmony. This attention to detail will ensure that your 1st Birthday Cookie photos stand out and capture the essence of the special day.
Editing and Sharing Your 1st Birthday Cookie Photos

After capturing beautiful photos of your 1st Birthday Cookies, it’s time to bring them to life through editing. Start by selecting the best shots; look for clear, well-lit images that showcase the intricate details and vibrant colors of the cookies. Use photo editing software to enhance these pictures without losing their authenticity. Adjust lighting, contrast, and saturation to make the colors pop and ensure every detail is visible. You can also add subtle filters to give them a charming, nostalgic touch.
Once your images are ready, it’s time to share the joy! Post them on social media platforms like Instagram or Facebook to showcase your 1st Birthday Cookie creations. Use relevant hashtags such as #1stBirthdayCookies and #BirthdayTreats to reach a wider audience and inspire others. You can also create a photo album or gallery to display these special memories, allowing friends and family to relive the celebration and appreciate the delicious craftsmanship.